What I'm working on: the Pecking Order quilt
Again, a photo heavy post. Just bear with me; I wanted to document what I've done and how far I am at with this quilt.
I wrote about this quilt in when I wrote the post about my WIP:s and UFO:s. The pattern for it is from Missouri Star Quilt Company, and I first saw it on their YouTube-tutorial and then printed the layout from their page. Unless you buy the pattern, you have to listen to the tutorial to find out the sizes for how to cut the fabrics and sew the pieces together.
It is also the first quilt I've started to make that has inches for a measuring unit, and not centimeters. (Yeah, because of the pattern).
I had found, during the summer of 2017, a very stiff fabric (in my opinion) from a ruffled mattress cover I had found second hand (while -also- in Kirkkonummi). That fabric might be some kind of flax/cotton mix, but I'm not sure. Washed, ironed and prepped, it's the one I'm using for the background. It was huge. So there was enough, once I started cutting our 5" x 5" background pieces, for TWO separate quilt tops.
So this post is about the FIRST of those tops I'm making, but because of how I happened to name it in my quilt planner, it is called "Pecking Order nr 2". Oh well.
The accent fabric I'm using for the corners is a charm pack from Moda Fabrics, and it's Laundry Basket Quilts's (or Edytha Sitar of you want the designer's name) line Color Daze. I had ordered it back in December 2017 and got it in January.

Before we went to visit my parents in Kirkkonummi with the kids, I had gotten all the blocks sown (which means groups of 4 blocks with unique corners from one charm square) and left then lying on the table like this for when I got back.
They are organized into the three color choices I want to use for each star.
Then, because I wanted to "web" together the star blocks, and to save some table space, I placed them out and on top of one another like this:

Then, I started sewing the blocks together. Reading Bonnie Hunter's blog, and seeing her live videostreams, I got taught how to web together both blocks and quilt tops.
Here's three blocks already webbed (and where I stopped for that evening):

I continued the following morning with webbing, here's six blocks together and I'm having trouble fitting them on the table.

Then, I started webbing together the blocks into a quilt top.

I wanted to have the corners match, and those not-yet-pressed open seams to stay open - damn it! - so it took a bit of pinning. I hate pinning. (Actually, I hate needles)
The top was made by first webbing together 3 blocks across (and doing this three times), and then webbing together those long rows before starting to sew together all horizontal seams.


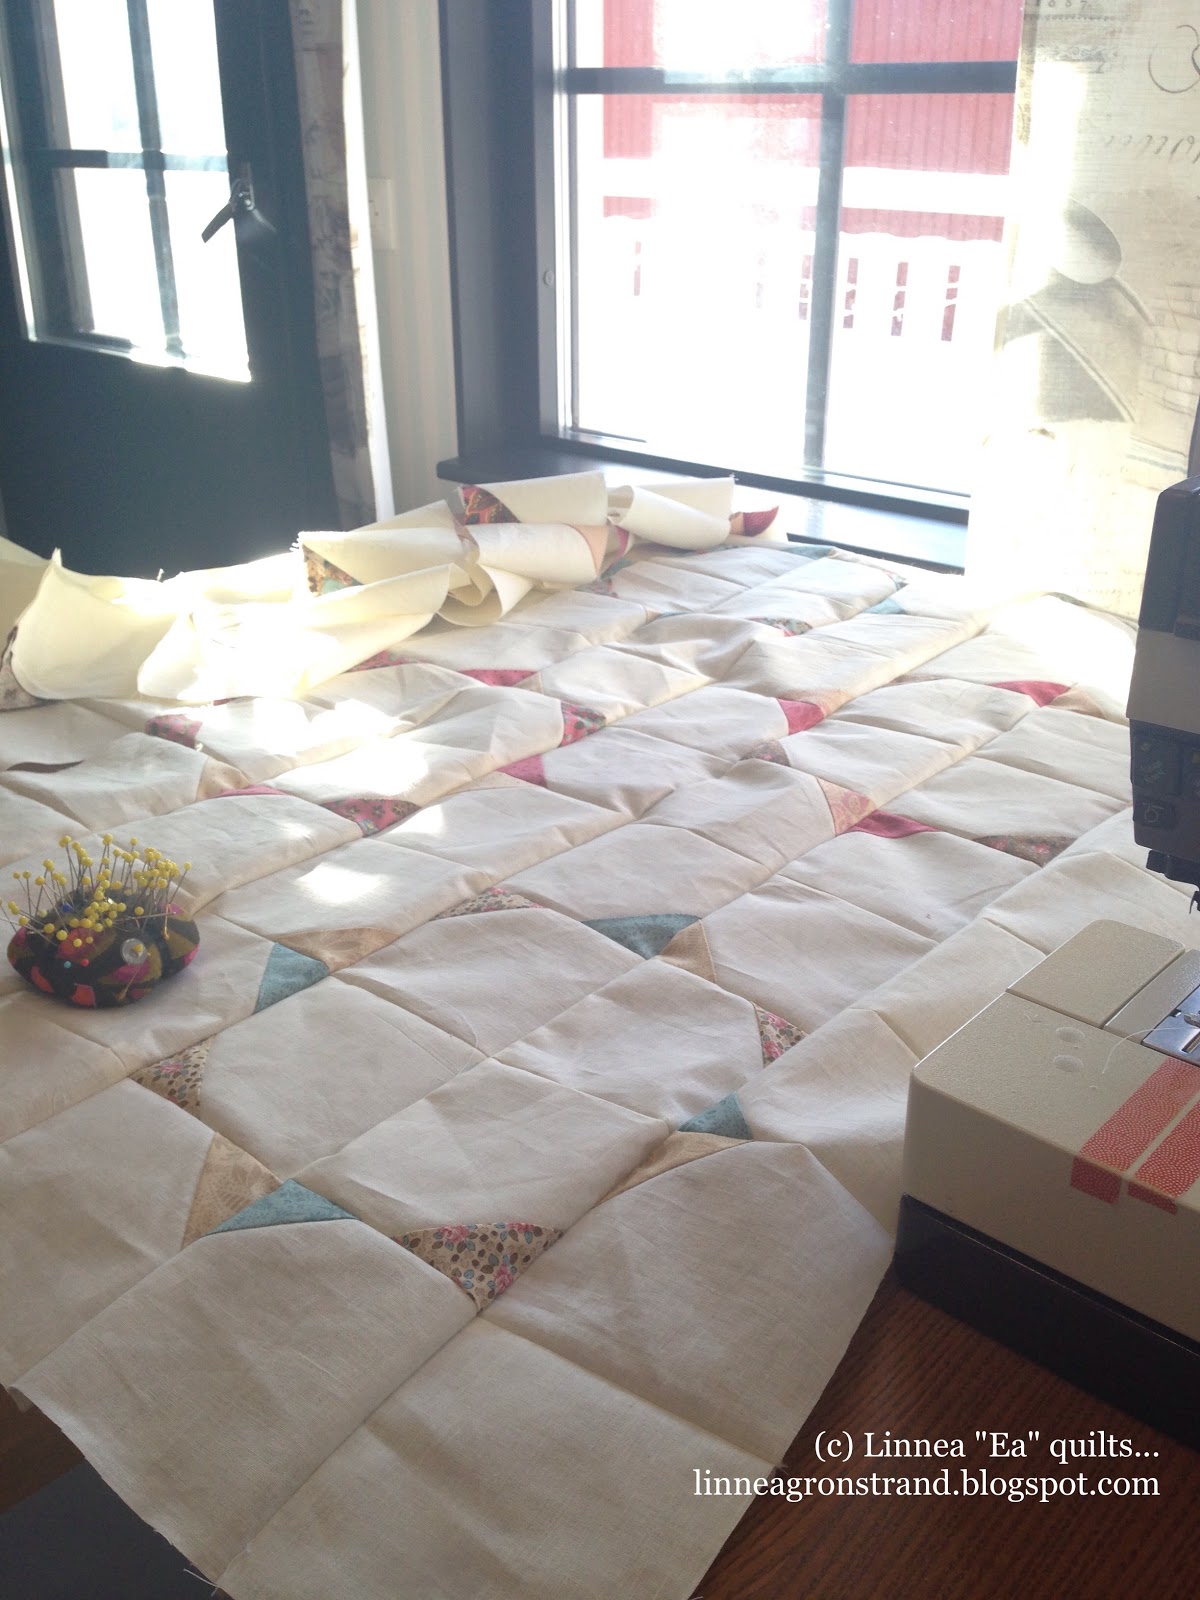
Then, it was time to iron those seams open. The top looked sooo good at this point. Both on the front and the back.

At this point, I had gotten this far in my planning (see the paper on top of the quilt top in the next photo).
I hadn't gotten enough unique fabrics in the charm pack for 12 star blocks, but I had gotten 10. I only sewed 9 of them together into the top, so I have one extra for the quilt back.

At this point, it only adds character to the top ;)
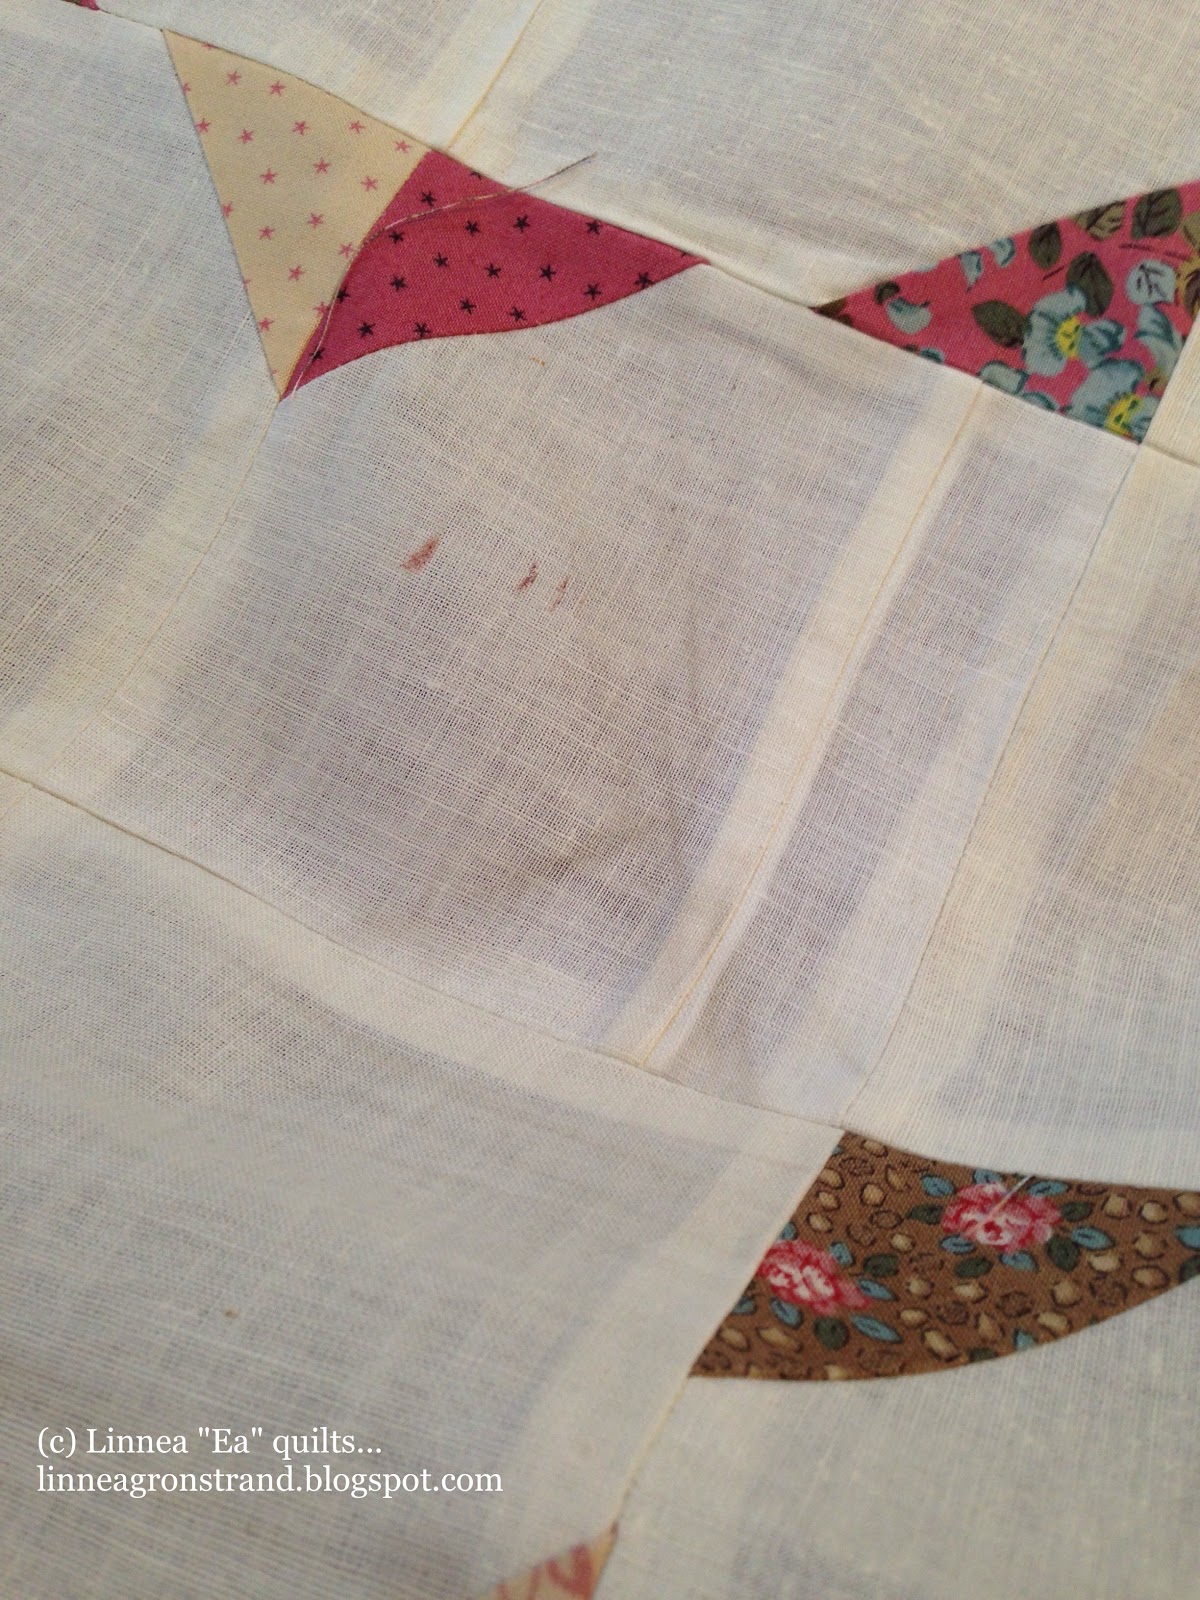
Again, I did these types of corners:

And pressed them also open:

Now, bonus HST:s (bonus half square triangles). When I made the blocks, every background square got a colorful corner. And, because of how I sewed them together, I sewed the extra seam for the bonus triangles, so now I have a bunch of these for the border-that's-yet-to-be-planned.
Here, I'm trying out a layout.

And that is how far I am with this quilt now.
One center down, borders to be planned, and then the quilt back that may or may not have the last of the ten star blocks on it.

Let's hope my brain presents me with an idea for a border soon. Otherwise, it's back to scour Pinterest and Google for ideas ;)
~~~~~~~~~~~~~
PLEASE ask permission BEFORE you PUBLICLY copy anything from my blog.
All images, all my text, and content that I specifically haven't referenced as belonging to someone else on this site are my property and they cannot be used, copied or transmitted without my consent.
The exception here is Pinterest, because I give you permission to pin my photos there IF YOU CITE THEM AS COMING FROM THIS BLOG AND THUS FROM ME.
I understand that Pinterest is useful for saving tutorials and photos for quilting inspiration, because I use it that way myself, and I'm okay with you doing that too - but PLEASE: "cite when you write". Give the creator some credit, will you? I have nothing against you trying to make something similar, or even selling it, but I'd like to get some credit for being your inspiration. Why? Well, because lots of crafts are passed down from person to person, and it feels nice to be able to say "yes, I taught you how to make that".
What I DON*T LIKE is you flat out stealing my photos and my written text.
If you want, check out my own shared Pinterest board: My creations
Or my Flickr photos: My photostream
For questions or further permissions, please email me at linnea.gronstrand [at]gmail[dot]com


Comments
Post a Comment